
The new gallery of this week’s submissions for the Winter Photo Challenge is now online here.
The new gallery of this week’s submissions for the Winter Photo Challenge is now online here.
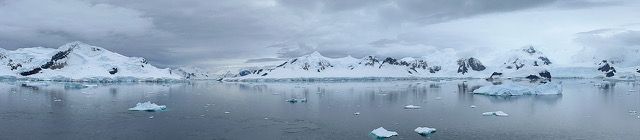
The gallery of images from December’s Pictures That Tell A Story is now online here.

This video deals with the basics of flash:
And now, here are those same principles applied to real world settings:
Phil Tughan
The next Camera Club meeting with be held on Friday, January 5th at 9:15 .am.
Our meeting will include:
Your images for the assignment must be emailed by noon on Friday, December 29th to be included in the slide show. For details on how to submit photos including formats and titles go to our Galleries page.
Ron Pierce has organized a Winter Photo Challenge which runs from January 1st to February 23rd.
The next assignment is Just the Three of Us and pictures from this assignment will be shown at the February 2nd meeting.
See you at the meeting.
If you’re interested in buying or upgrading Adobe Photoshop Elements for image editing or Adobe Premiere Elements for video editing then this sale is for you. Until January 7th you can get either program for $69.99US (regular price $99.99US) or a package of both programs for $99.99US (regular price $149.99US).
If you’re not sure you can download the full featured 30 day free trial of Photoshop Elements or the free trial of Premiere Elements and try it out for 30 days. Note that you do have to create a free Adobe account to download either program.
The Kanata Seniors Council Tech Tutors offers one-on-one tutoring on Photoshop Elements for $20 for 3 hours or $8 for one hour.
Ric Burns’ brilliant documentary Ansel Adams — A Documentary Film was created for the Sierra Club and PBS in 2002. You can watch it by clicking here.
You can see lots of his images on his website and read more about him on this wikipedia page.
A questionnaire has been created to provide feedback from Kanata Seniors Centre Camera Club members which will help determine content for future meetings and workshops.
This questionnaire was available at the meeting on January 5th. Copies are also available here, and at the Kanata Seniors Centre front desk.
Completed questionnaires can be dropped off at the Kanata Seniors Centre before January 15th or at the meeting on January 5th.
Thank you for your participation.
Your Camera Club Executive
Stormy Weather was the recent monthly photo topic. Amy Lo had taken this picture: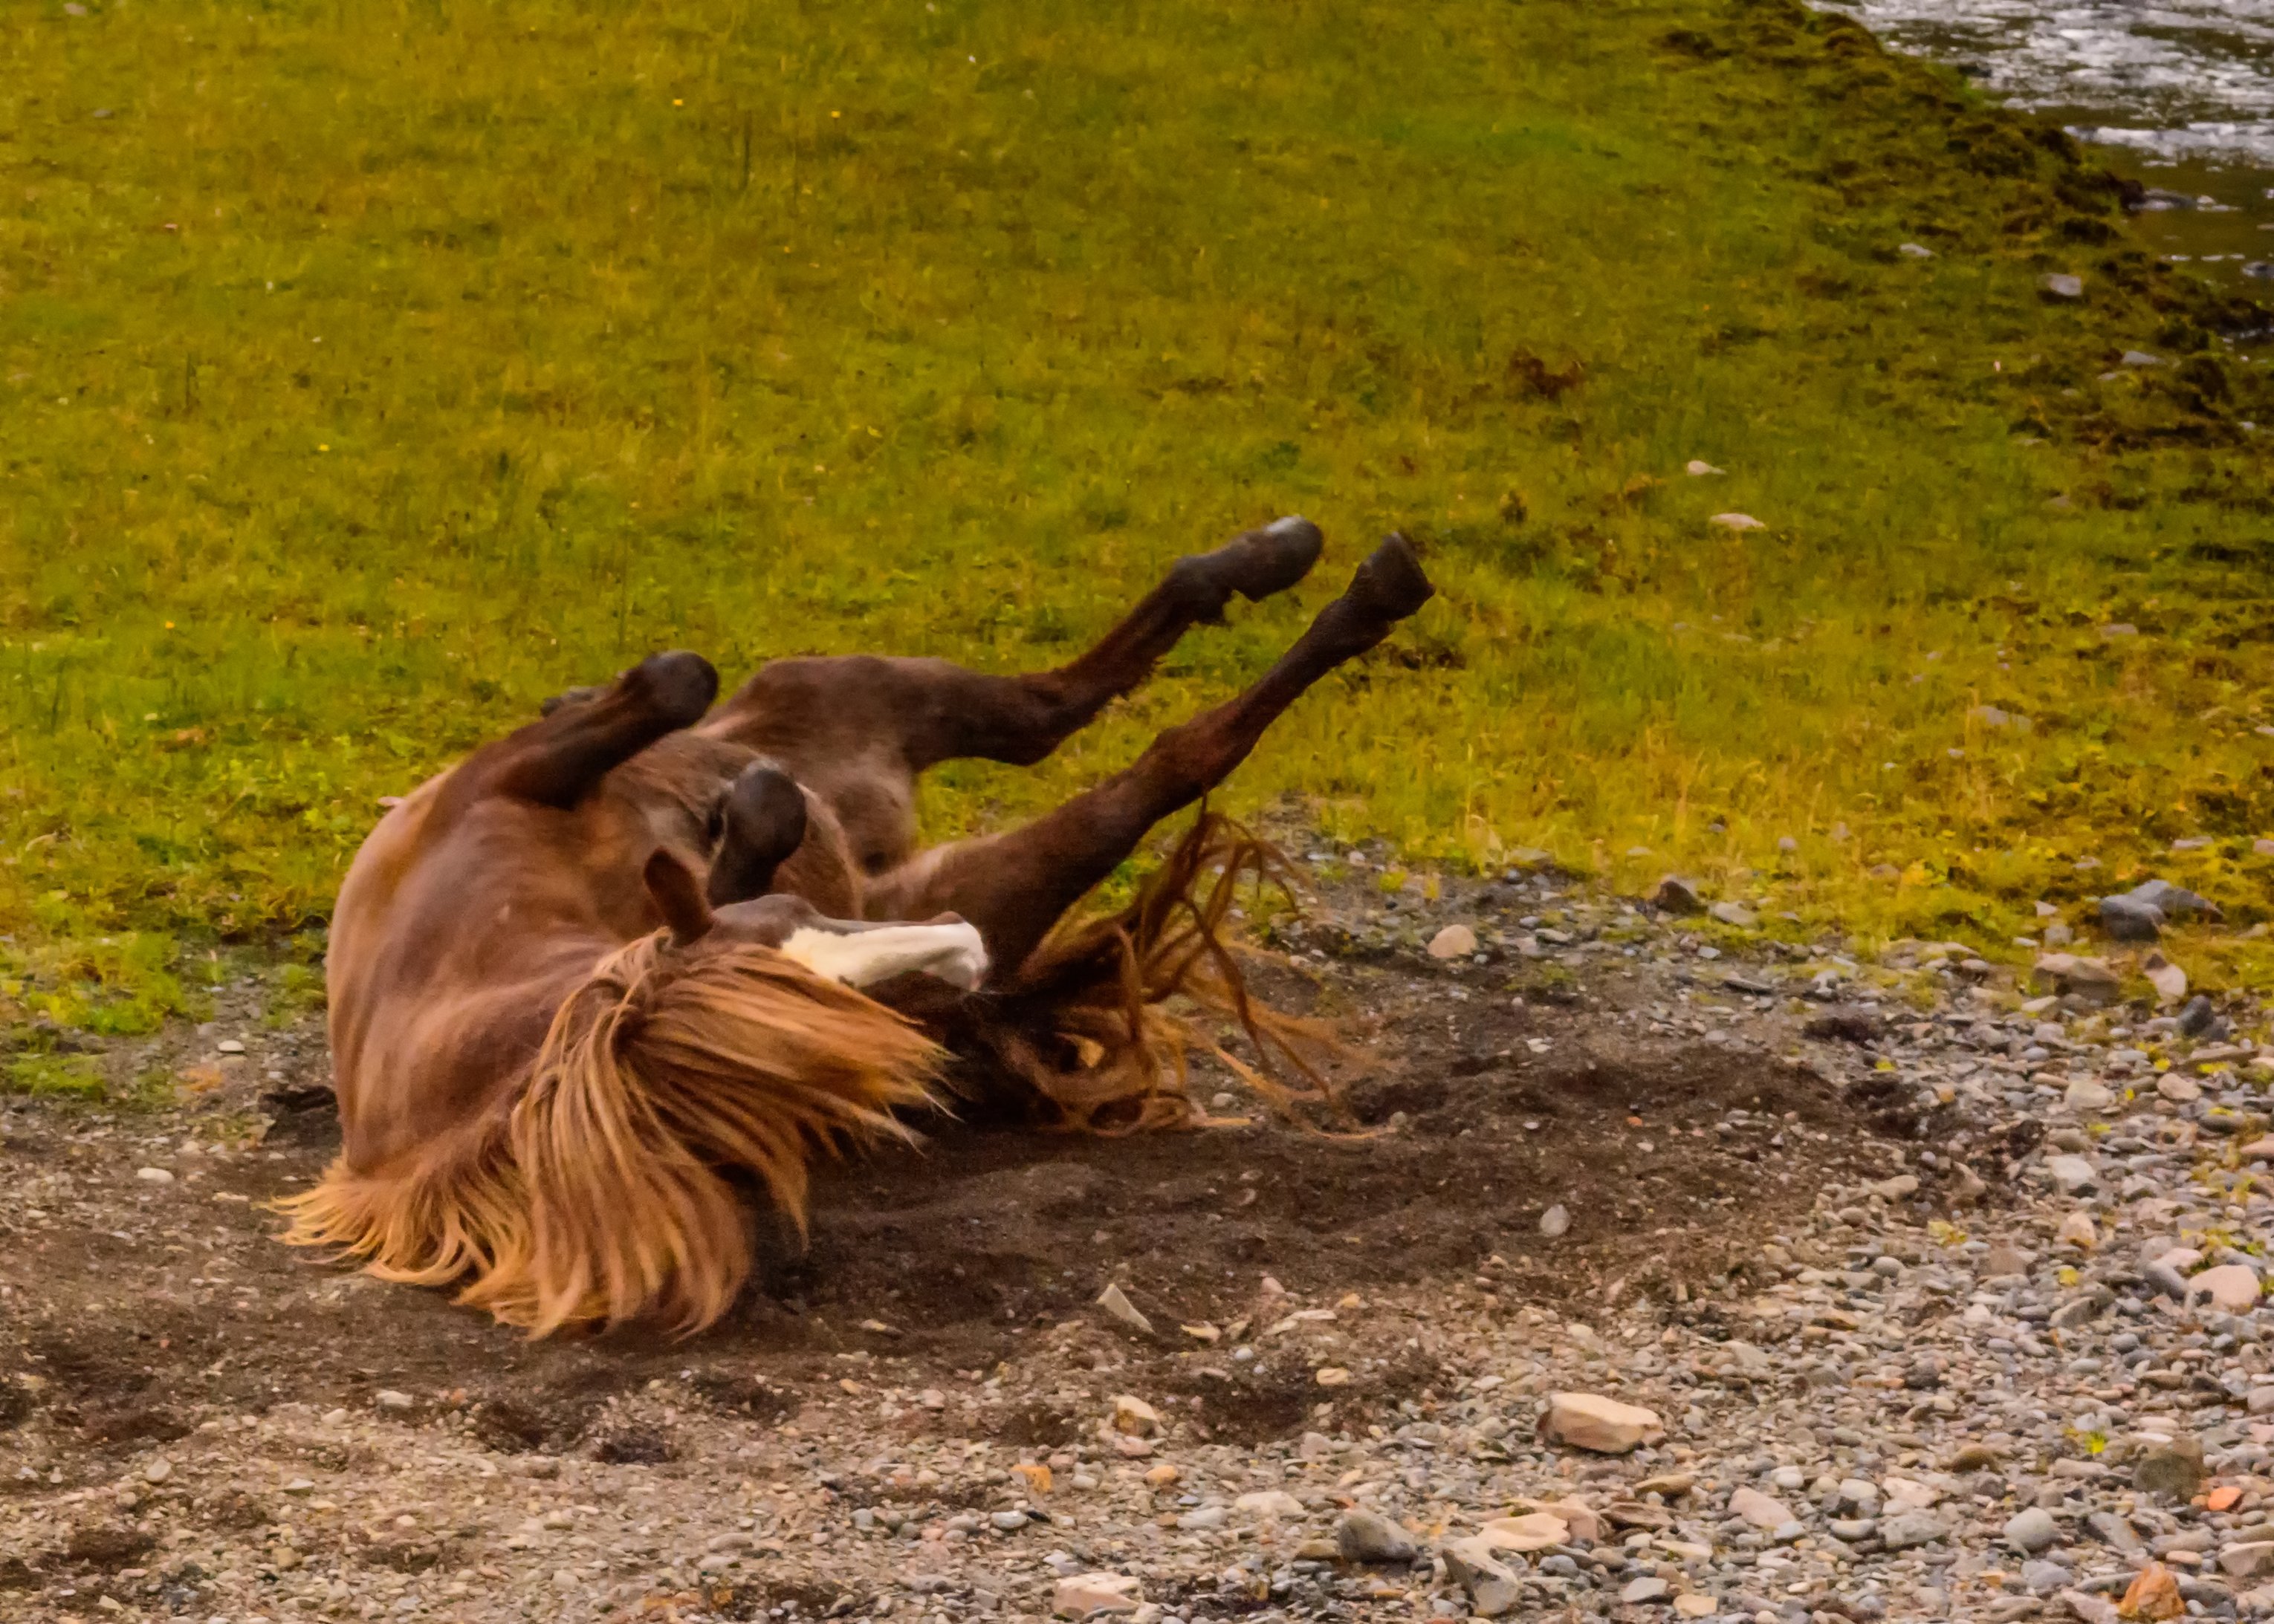
but it didn’t match with the topic so she added rain using Photoshop Elements version 11 and got this picture:
which she submitted. You can click on the above thumbnails to see larger versions of both images. If you want to see the intermediate steps, you can download Amy’s Photoshop Elements .psd file by clicking here then clicking on the blue Download button.
Amy used the technique shown in this video tutorial which she summarized as follows:
Thank you Amy for sharing.

