 At our meeting on June 1, Ron Pierce gave an excellent presentation on Table Top Photography. You can review his notes here.
Category: Tips
Tabletop Photography

Here are five videos I chose with tips on tabletop photography:
- Shooting Still Life with Simple Tools by Don Giannatti
- Product and Still Life Photography for Beginners by Phillip McCordall
- How to Make a Great Still Life Shot With Only 1 Light: Studio Photography Tips and Tricks by Photigy
- Light Painting Photography Technique by Robert Grant from LearnMyShot
- Photographing Shiny Metal and Reflections by Prophotolife.com
Phil Tughan
Choosing the Right Lens
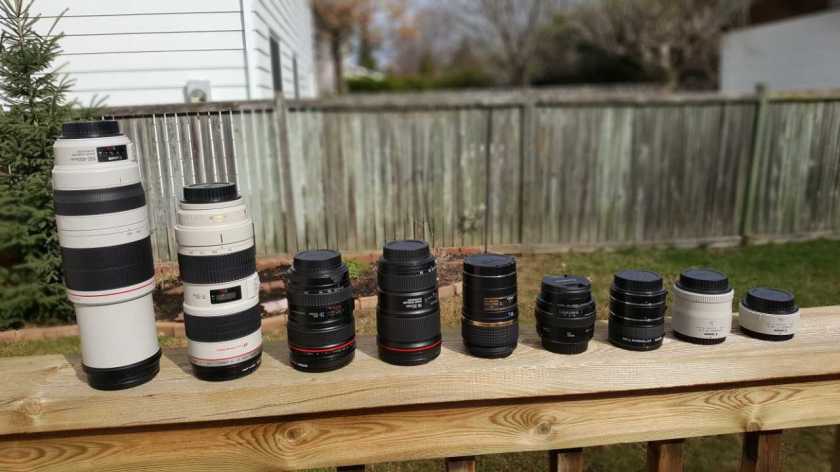 Here are some videos I chose with tips on choosing the right lens:
- 10 Mistakes People Make When Buying a Camera by John Greengo from Creative Live
- All about Lenses for Beginners by Phillip McCordall
- How to Choose a Lens for a DSLR by Ultimate PhotoGuide
- Bird & Wildlife Photography Equipment: Lenses, cameras, teleconverters, tripods, monopods by Tony & Chelsea Northrup
- Focal Lengths and Compression. How to Choose the Right Lens! by Simeon Quarrie
- How to Choose the Right Lens by Andrew Boey from Beyond Photography Show
Phil Tughan
Photography Workshops and Tours
Frank Knor found this online directory of photography workshops and tours that he wanted to share with the club. It has also been added to our links page.
Jim Leask on Slide Copying
At our March 6th meeting, Jim Leask demonstrated how to easily and quickly copy slides using a DSLR, an off camera flash and a slide adapter. You can review his notes here.
The adapter he used to hold the slide in front of his camera is a Nikon ES-1 and is available from Henry’s. Note that it is a 52mm thread so you may need an adapter for your lens. Note also that, if you don’t already own a suitable macro lens, you can use extension tubes to adapt whatever lens you have to close focus.
Make an Antique Image
Our recent monthly photo assignment was about making an image look like it was taken years ago.
During the review, Ron Pearce explained how he composited his original image:

with this texture:

and this photograph of an antique photo mat:

to come up with the image he submitted .
If you have Photoshop, an easy way to make an antique version of an image is described in this video by Gavin Hoey. He provides a Photoshop Action and a collection of brushes (which can also be used with Photoshop Elements) which I used to create my submission.
Carol Brown created her own texture by photographing a crumpled brown paper bag, and adding it as a transparent layer using Photoshop to create her submission.
Several members reported that they used the Time Machine effect in Corel’s Paint Shop Pro to make antique versions of their images. A 30 day free trial is available if you want to try it out.
Bill Robertson
Portrait Photography Tips
Here are some videos I chose with tips on portrait photography:
- Photographing People: The War in Every Portrait by Sean Tucker
- 9 Tips for Better Portraits by Jamie Windsor
- Best Portrait Photography Tips EVER!! by WeeklyImogen
- Single Flash Portraits on a Budget by Tony and Chelsea Northrup
- Low Key Portraits: Take and Make Great Photography with Gavin Hoey from Adorama
- How to Take a Self Portrait (at home) by Mike Browne
Phil Tughan
RicharD Murphy on Digital Asset Management
RicharD Murphy has provided a copy of the slides from his March 2nd presentation on Digital Asset Management which you can review here.
He also made these recommendations for bulk file renaming programs:
- Renaming software for PC:
- Renaming software for Mac:
- Rename (discontinued – still works great)
- Mac OS X Yosemite and newer will rename files in bulk via the Finder. Select files to rename, Right Click ( Command Click ) and choose ‘Rename Items’
- Also, Adobe Bridge will batch rename files on both Mac & PC, and Lightroom can rename files on import.
Thanks again RicharD.
Submit Photos From a Mac
If you’re a Mac user and want to submit photos from iPhoto for a monthly gallery, a challenge, or a shootout, club member Maureen Carrier has documented the procedure she uses:
- Select your picture in iPhoto
- From menu bar, select “File”, “Export”
- Chose “Maximum” quality and “Full Size” and “Use title” then hit “Export”
- Then you will see: “Save As”. Choose your title which must include your name, e.g., “Roses by Maureen Carrier” if you want your photo to appear on the club website
- Choose “Desktop” as your location, then “OK”
- Open Mail and create a message to cameraclub@kanataseniors.ca
- Choose “Attach “on your email and select your picture from the desktop by highlighting it and “Choose File”
The name will not show up on the email but it’s embedded in the picture and will appear when the recipient opens it
Thanks Maureen
Jim Leask on Digitizing Slides with a DSLR
The feature speaker at our April meeting will be Jim Leask who will be speaking about
Taking Pictures of Pictures — Digitizing slides with a DLSR.
Jim is a software engineer and an enthusiastic amateur photographer. He started photography in the ’70s with a Nikon FE film camera, and a manual focus lens. He was always “the guy with the big camera” at events, and also liked nature photography. He learned the creative and technical skills for photography with film, then transferred these concepts to digital and digital processing.
He became interested in converting slides to digital format after the world trip He and his wife went on where they took over 10,000 slides. They had countless slides of family and events from earlier years too, but they were all locked away in a format that was difficult to use. They never saw those pictures.
He purchased a slide scanner, but found it was far too slow to process each slide so it was never used. When the full/crop frame digital cameras came along, he investigated the idea of taking pictures of pictures. He found that worked very well.
Presentation Outline
This presentation will show how he uses his DLSR to digitize slides.
There are two main objectives while digitizing:
1) Image Quality
- Obtain the best digital copy of the slide as possible
2) Speed
- – so the project actually happens!
He will cover the following topics:
- Camera gear (the camera, lens, and slide adapter)
- Camera settings (F-Stop, shutter speed, and why)
- Focus (settings to get good focus)
- Lighting source and white balance (how to illuminate the slide for good colour)
- Lightroom (capturing directly to Lightroom and cataloguing images)
- the workflow (show captures in action – approx. 10 seconds / slide)
