Natural Light in Photography
 Paying more attention to light is perhaps the most important step you can take to improve your photography. Different types of natural light can also produce a wide variety of subject appearance even though these all have the same light source. Three factors influence how natural light renders a subject; time of day, camera direction and weather.
Overview: Even though all natural light originates from the sun, a subjects illumination is actually composed of several components.
Direct sunlight – warmer, high contrast.
Diffuse Sunlight – cooler, low contrast.
Bounced Light – has qualities of reflecting object.
| TIME OF DAY |
CONTRAST |
COLOURS |
DIRECTION OF SUN |
| Midday |
Highest |
Neutral white |
Near vertical |
| Evening & Morning |
High |
Slightly warm |
Medium to low |
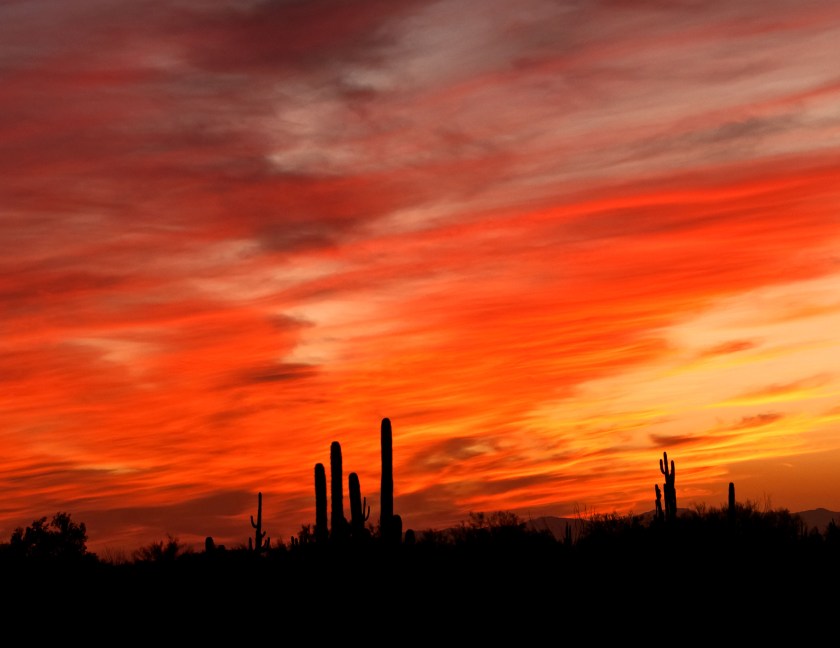
| Golden Hour |
Medium |
Warm to fiery |
Near horizontal |
| Twilight |
Low |
Cool pastel |
Below horizon |
Weather: Along with time of day, the type and extent of cloud cover is the other most influential cause of lighting variation.
Clear Midday Sunshine, is primarily composed of direct downward sunlight. This results in the hardest and most neutrally-coloured lighting of any time of day. Due to these drawbacks, too often photographers put their cameras away-potentially missing unique opportunities. For example, water may appear more transparent, since the light penetrates deeper. If shadows appear too harsh and colours aren’t sufficiently saturated, try converting to Black and White, since these may even benefit from the high contrast of midday light.
Evening and Mid Morning, becomes slightly warmer and begins to cast noticeable shadows. Subjects appear more three-dimensional. It is not as neutrally coloured as midday, but not as warm or intense as sunset and not soft and diffuse as during twilight or overcast, but these qualities make it a good all-round time of day for photography, but also run the risk of making photographs appear too ordinary.
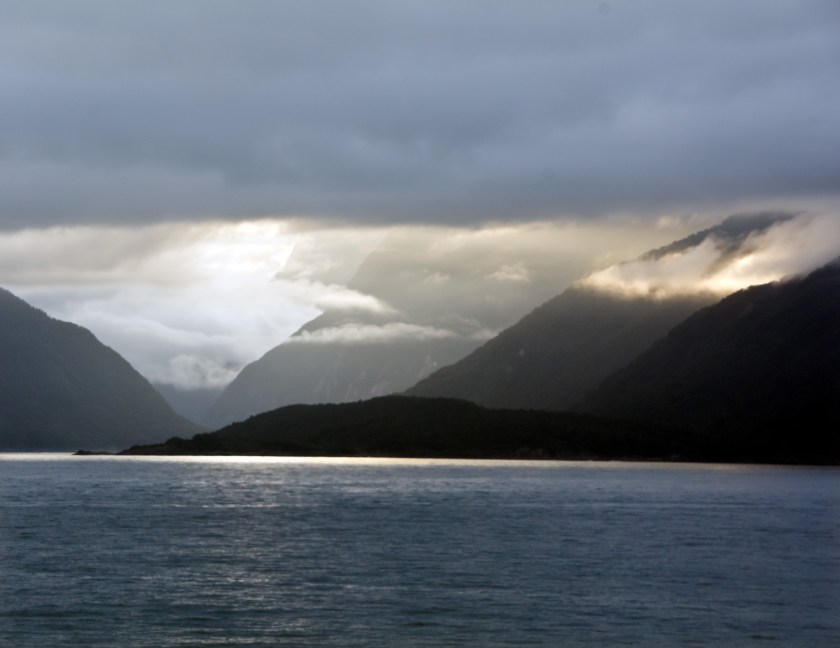
Golden Hour and Sunrise/Sunset are typically regarded as having the most desirable light to photograph. Horizontal light that cast long shadows and gives subjects a warm glow. Make sure your cameras Auto White Balance doesn’t counteract an otherwise warm-looking scene. When the lighting is most dramatic is also when your camera is most likely to make an error with its exposure; take several shots or use partial or spot metering. Sunrises often have calm quiescent quality particularly with scenes involving water – that isn’t present during Sunsets.
Twilight, Dawn and Dusk typically describes the 1/2 hour before sunrise and after sunset, when the sky is still bright. but there’s no longer any direct sunlight, with one side of the sky appearing warm and reddish and the other becoming a cool blue or purple.. Cameras can often overexpose a twilight scene when using auto exposure, potentially washing out the otherwise delicate colours.
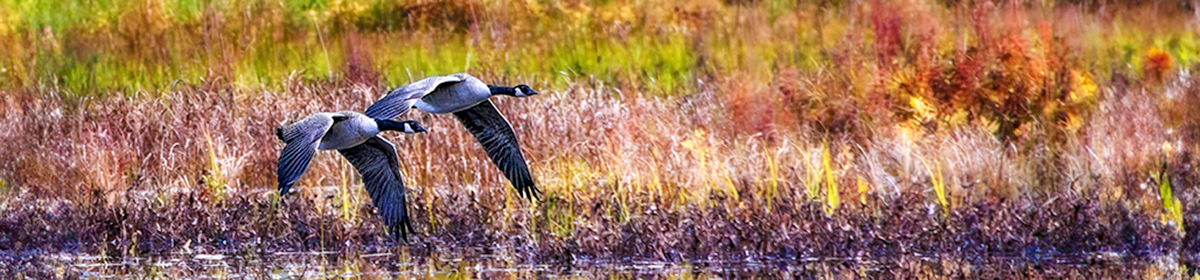
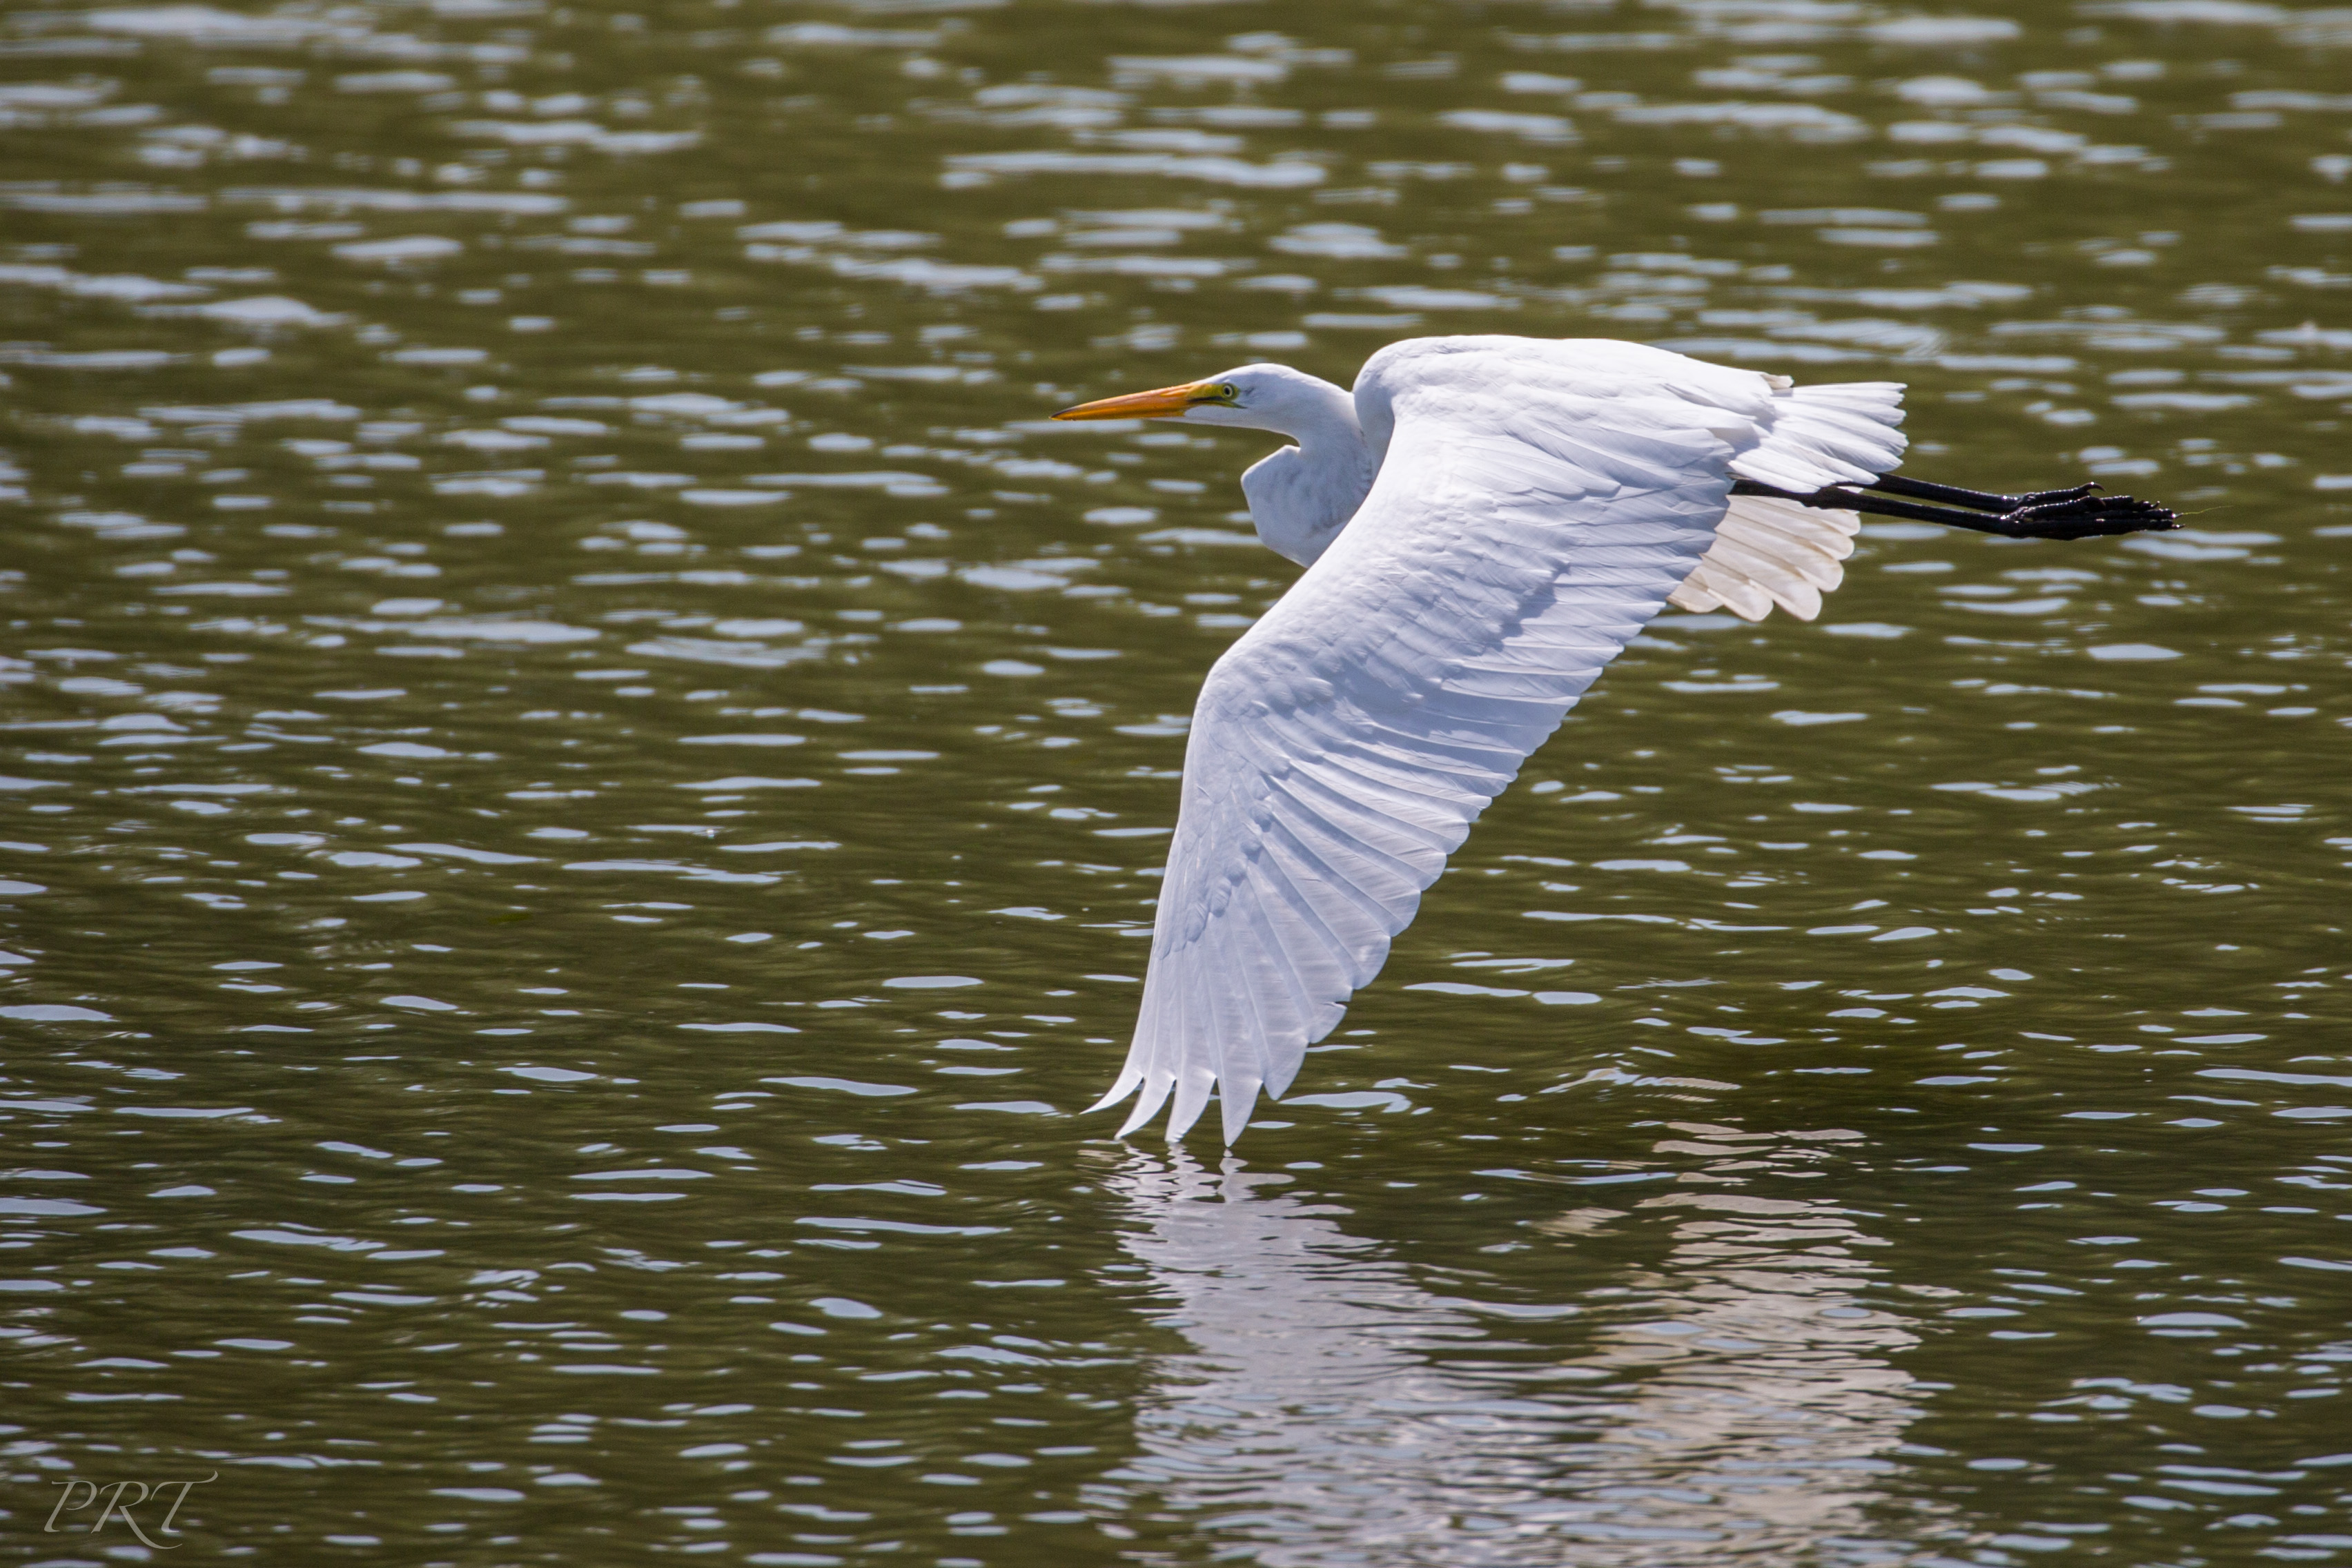
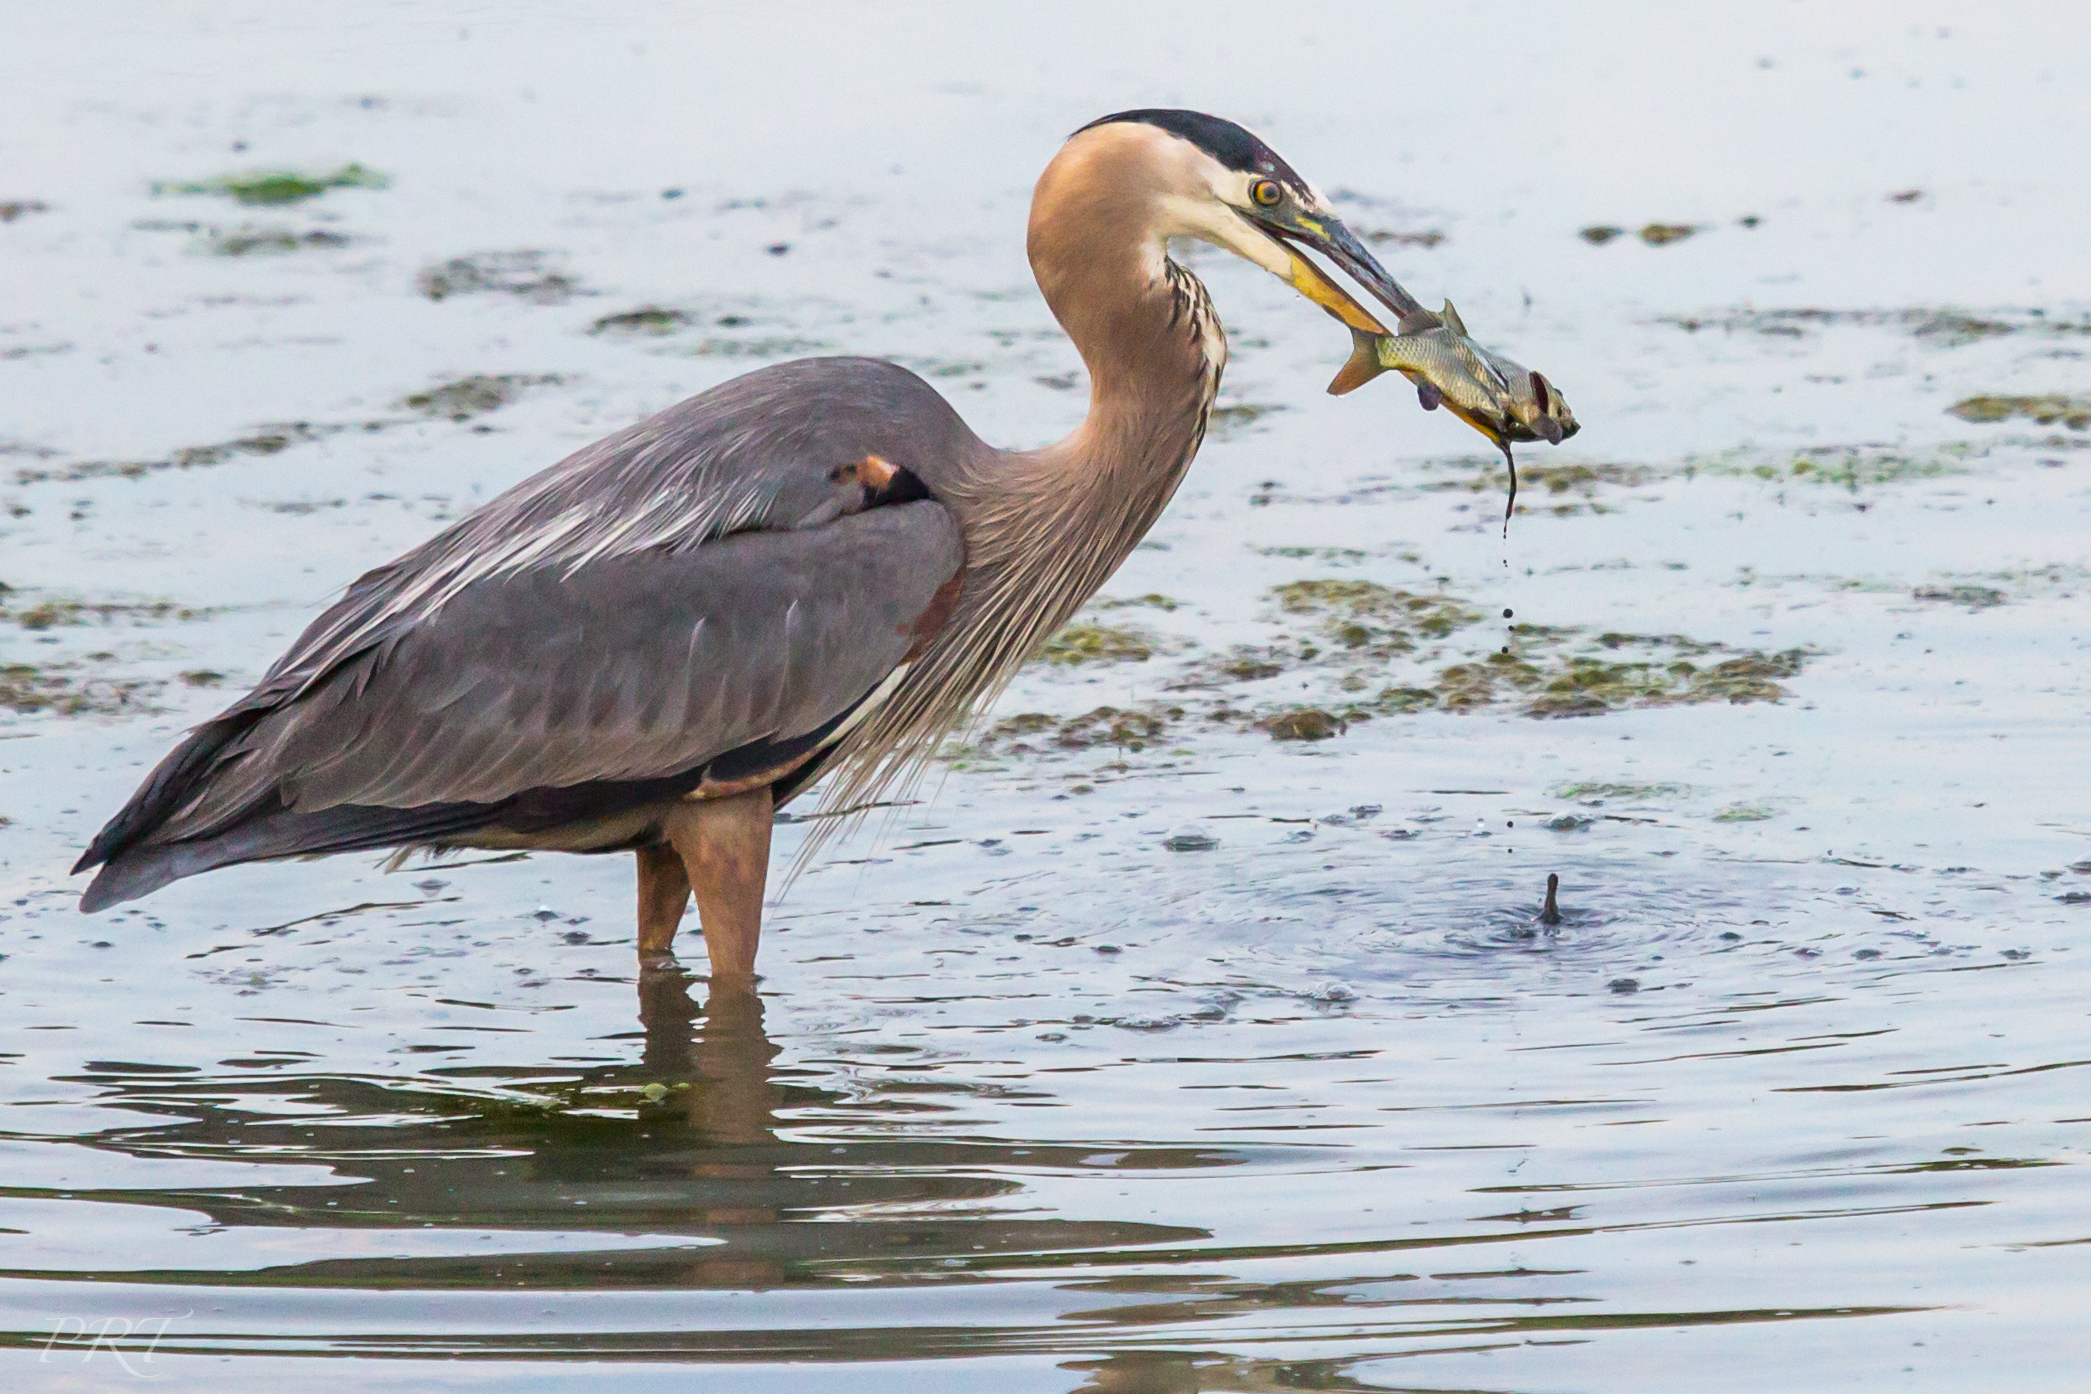
Shade and Overcast Sunlight typically have a cool soft appearance since the source of such light is spread across the entire sky and doesn’t include any direct sunlight. Many photographers shy away from this type of lighting but doing so is often a mistake. Depending on the degree of cloud cover, bright overcast light can be ideal for outdoor portraits and wildlife , as can subjects containing both dark and light colours,since it doesn’t cast harsh shadows. A common trick is to keep grey sky out of the picture unless the clouds are moody and highly textured. Images straight out of the camera often appear more bluish than desired, so shoot in RAW and adjust White Balance afterwards.
Stormy weather can produce extremely light contrast since rain clears the air of haze and dust. Sunsets after a storm are also often the most dramatic.
Other scenarios include photographing in the fog, mist and haze which not only decreases light’s contrast but also does so progressively for most distant objects.
Marg Jackman


 If you really want to make an impression on people, make a print. I know it sounds simple, but a printed piece, especially today, is one of the most powerful,

